Indulge in Sweet Delight: Salted Caramel Oreo Icebox Cake
Are you ready to dive into a dessert that’s equal parts impressive and uncomplicated? Meet the Salted Caramel Oreo Icebox Cake! This delightful treat is your secret weapon for any gathering, from casual BBQs to festive celebrations. It’s the perfect way to layer on happiness, especially when you’re juggling a busy schedule between work, kids’ activities, and trying to remember where you parked your car at the grocery store. Trust me, this cake will not only wow your friends and family, but it will also earn you a standing ovation!
Why You’ll Love This Salted Caramel Oreo Icebox Cake
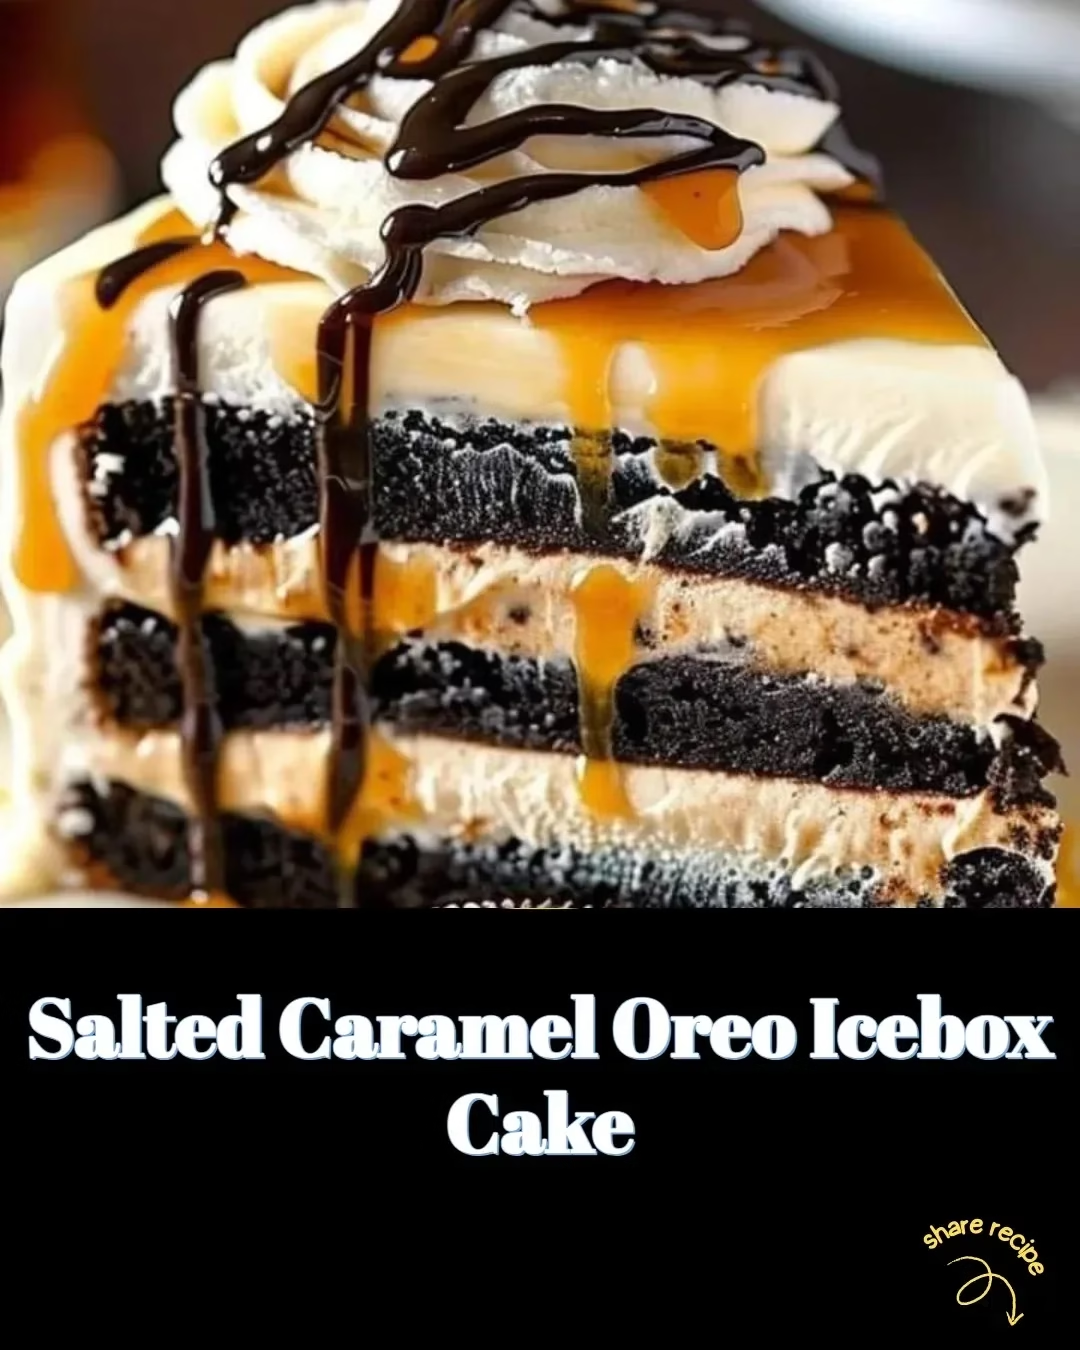
Imagine this: creamy layers of decadent salted caramel, crunchy Oreo goodness, and a texture that melts in your mouth. Sounds like a dream, right? The best part? You don’t need to be a master chef to whip this up. With just a few ingredients and some simple steps, you’ll have a delectable dessert that can chill in the fridge while you kick back and enjoy the moment. Perfect for busy women everywhere who deserve a sweet treat without the fuss!
The Ingredients You’ll Need
Here’s your shopping list for the Salted Caramel Oreo Icebox Cake. As always, I recommend checking your pantry for any hidden treasures before heading out. You might be pleasantly surprised!
Ingredients
- 15-20 Oreo cookies (I’ll leave it up to you if you want to sneak a few before they hit the cake!)
- 8 oz. cream cheese (softened, because we want it smooth, like your skin after a good moisturizer!)
- 1 cup powdered sugar
- 1 ½ cups heavy whipping cream (for that cloud-like feel)
- ½ cup salted caramel sauce (store-bought or homemade, no judgment here!)
- Pinch of sea salt (to really bring that salted caramel vibe)
- Optional: extra caramel sauce and crushed Oreos for garnish (because who doesn’t love a glam moment?)
Ready to make your mouth water? Let’s get to it!
Steps to Create Your Cake Masterpiece
Prep the Cream Cheese Mixture: In a mixing bowl, combine the softened cream cheese and powdered sugar. Using an electric mixer, beat until the mixture is creamy and fluffy. If your kids come running, just tell them you’re making “the magical layer of happiness.” Trust me, they’ll be intrigued!
Whip the Cream: In another bowl, whip the heavy cream until stiff peaks form. It should look like fluffy little clouds are dancing in your bowl. Gently fold this whipped cream into the cream cheese mixture until well combined. Feel free to sneak a taste!
Layer the Cake: Now, to assemble! Start with a layer of Oreo cookies at the bottom of your chosen dish (a 9×9 inch dish works perfectly). Fun fact: if you have a rebellious cookie, don’t worry! Just break it and fill in the gaps.
Spread the Goodness: Pour half of the cream cheese mixture over the Oreo layer. Drizzle half of the salted caramel sauce on top and sprinkle a pinch of sea salt. Repeat with another layer: more Oreo cookies, the remaining cream cheese mix, and finish off with a drizzle of caramel.
Chill Time: Cover your dish with plastic wrap and refrigerate for at least 4-6 hours (or overnight if you can wait!). This is the hardest part, but it’s a perfect excuse to pour yourself a glass of wine.
Final Touches: Once chilled, feel free to garnish with crushed Oreos and more caramel sauce. Snap a cute pic for social media; your friends will be begging for the recipe!
Cooking Tips
- Don’t worry if your whipped cream isn’t perfect! A slight lumpiness can add to the homemade charm. Plus, it’s just part of cooking magic!
- Feel free to swap the caramel sauce. A chocolate sauce or fruit compote can make for a fun twist. Who’s stopping you?
- Think of this recipe as a canvas; feel free to get creative with layers! Add fruits, nuts, or even some chopped candy bars for that extra crunch!
FAQs about Salted Caramel Oreo Icebox Cake
Can I substitute the heavy whipping cream?
Yes, you can! You may use whipped topping if you’re looking for a quicker alternative.
How can I store leftovers?
Store any leftovers covered in the fridge for up to 3 days. If it lasts that long!
Can I make this ahead of time?
Absolutely! This dessert is perfect for preparing a day ahead, making it a fabulous option for any event.
As you savor each slice of this Salted Caramel Oreo Icebox Cake, you’ll realize that yes, you can have your cake and eat it too! It’s not just about the dessert; it’s about the smiles you’ll create and the moments you’ll share. This cake encapsulates the joys of cooking and gathering with loved ones, which is precisely what being in the kitchen means to me. Let’s keep making memories that taste just as sweet!
For more delightful recipes designed to make your life a little sweeter (like my chocolate lava cake) or even inspire quick dinners on those busy weeknights, explore my kitchen adventures at al3ab.tech.
Meta Description
Salted Caramel Oreo Icebox Cake is the perfect recipe for busy moms. Quick, easy, and delicious, this dessert will become your go-to treat. Try it today!
Salted Caramel Oreo Icebox Cake
Ingredients
Method
- In a mixing bowl, combine the softened cream cheese and powdered sugar. Beat until creamy and fluffy.
- In another bowl, whip the heavy cream until stiff peaks form, then fold into the cream cheese mixture.
- Start with a layer of Oreo cookies at the bottom of a 9x9 inch dish.
- Pour half of the cream cheese mixture over the Oreo layer and drizzle with half of the salted caramel sauce, sprinkling a pinch of sea salt.
- Repeat with another layer of Oreos, the remaining cream cheese mixture, and top with more caramel.
- Cover with plastic wrap and refrigerate for at least 4-6 hours, or overnight.
- Once chilled, garnish with crushed Oreos and additional caramel sauce before serving.