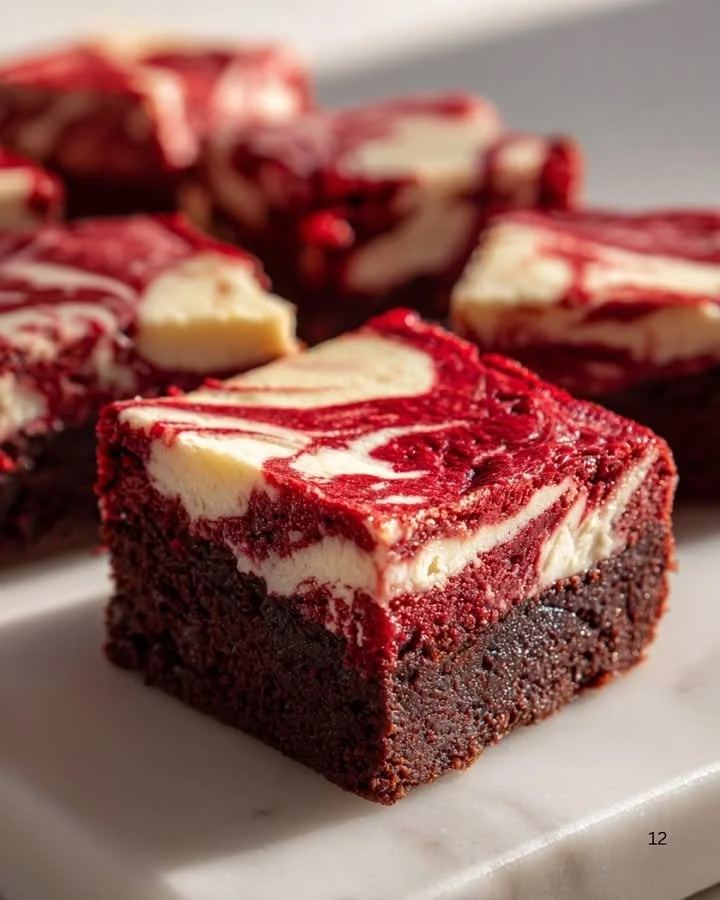
Indulge in the Decadence of Red Velvet Brownies: An Irresistible Recipe for Every Occasion
Seriously, if you’re looking for a dessert that has that “wow” factor without making you break a sweat in the kitchen, then red velvet brownies are the way to go! These scrumptious delights combine the rich cocoa flavor of brownies with the distinctive charm of red velvet, making every bite feel like a celebration. Perfect for those busy afternoons or spontaneous gatherings, these brownies are about to become your new secret weapon for sweet indulgence.
Why You’ll Love This Red Velvet Brownies Recipe
Not only are these red velvet brownies a feast for the eyes, but they also blend the best of both worlds—brownie richness and red velvet flair. Let’s be honest: who doesn’t love a dessert that doubles as an eye-catching centerpiece? You can whip these up for a last-minute potluck, bake them to brighten up a family dinner, or just treat yourself on a cozy movie night at home.
Grab your apron, and let’s dive into this delightful adventure of flavors and textures!
Ingredients You’ll Need
Gathering the perfect ingredients is all part of the fun. Here’s what you need for your red velvet brownies:
- 1/2 cup (1 stick) unsalted butter
- 1 cup granulated sugar
- 2 large eggs
- 1 teaspoon vanilla extract
- 1 tablespoon red food coloring
- 1 cup all-purpose flour
- 1/3 cup unsweetened cocoa powder
- 1/2 teaspoon baking powder
- 1/4 teaspoon salt
- 1/2 cup chocolate chips (optional, but why would you skip this?)
Got everything? Great! Let’s get started on these divine treats.
Steps to Deliciousness
Preheat That Oven: Set your oven to 350°F (175°C). This is where the magic begins!
Melt the Butter: In a microwave-safe bowl, melt your butter until it’s completely liquid. Don’t worry; this is the easy part!
Mix and Whisk: Add the sugar to the melted butter and mix it well. Follow this with the eggs and vanilla extract. Whisk until everything is combined and smooth. Don’t you love seeing it come together?
Color Time: Stir in that vibrant red food coloring. It’s like adding a little pop of joy to your brownie mixture! Mix until the color is even throughout.
Add the Dry Ingredients: In another bowl, whisk together the flour, cocoa powder, baking powder, and salt. Gradually add this mixture to your wet ingredients, stirring until combined.
Chocolate Chips, Yes Please: If you’re feeling adventurous (and who isn’t?), fold in those chocolate chips!
Prepare the Baking Dish: Grease an 8×8-inch baking dish (or line it with parchment paper for easy removal) and pour the batter in. Smooth it out with a spatula.
Bake Away: Pop the dish into your preheated oven and bake for 20-25 minutes. The brownies are done when a toothpick inserted in the center comes out with a few moist crumbs. Overbaking is the enemy of fudgy brownies, so keep an eye on that timer!
Cool and Slice: Let your brownies cool in the pan for about 10-15 minutes before transferring them to a wire rack. Once cooled, slice them into squares and serve with a side of whipped cream or a scoop of ice cream—you won’t regret it!
Cooking Tips for Perfect Red Velvet Brownies
- Butter Alert: For the richest flavor, use unsalted butter! This gives you more control over the overall saltiness of your brownies.
- Measuring Flour: Avoid packing down your flour when measuring! Spoon it into your measuring cup, then level it off with a knife. Trust me; it makes a difference!
- Food Coloring: If you’re not a fan of food coloring, you can substitute with natural alternatives like beet juice. Though, let’s just say, it may not be as striking!
A Personal Note
I remember the first time my sister Patricia and I made these red velvet brownies together. We were just kids experimenting in the kitchen. We ended up with more batter on our faces than in the baking dish! But oh, how those brownies turned out to be a family favorite. We indulge in a batch every year for our mom’s birthday, and now my kids are joining in on this sweet tradition!
FAQs About Red Velvet Brownies
Can I substitute an ingredient in this recipe?
Absolutely! If you’re out of eggs, you can use applesauce (1/4 cup per egg) as a replacement. It’s a great way to keep things moist!
How can I store leftovers?
If you have leftovers (which is rare but possible), store them in an airtight container at room temperature for up to three days or in the fridge for up to a week.
Can I freeze these brownies?
Definitely! Just wrap each brownie individually in plastic wrap, then place them in a freezer-safe bag. They’ll keep for about three months, ready for when dessert cravings strike!
In moments of busy lives, these red velvet brownies stand out not just for their flavor but also for their sheer joy. Next time you’re in need of a sweet pick-me-up or a treat to share, you’ll know exactly what to reach for!
Now It’s Your Turn!
So, why wait? Dive into the world of red velvet brownies today. Trust me; your taste buds will thank you! And when you do, feel free to share your experiences with us—whether it’s a culinary triumph or a delicious mishap, we’d love to hear from you. Remember, every great recipe is a story waiting to be shared.
For more sweet adventures in baking, check out some of my other favorite dessert recipes on al3ab.tech. Happy baking!
Meta Description: Red Velvet Brownies are the perfect recipe for satisfying your sweet tooth. Easy, delicious, and a visual treat! Try this recipe today!
Red Velvet Brownies
Ingredients
Method
- Preheat your oven to 350°F (175°C).
- In a microwave-safe bowl, melt your butter until it’s completely liquid.
- Add the sugar to the melted butter and mix well. Then add the eggs and vanilla extract. Whisk until combined and smooth.
- Stir in the red food coloring until the color is even throughout.
- In another bowl, whisk together the flour, cocoa powder, baking powder, and salt. Gradually add this mixture to your wet ingredients, stirring until combined.
- Fold in the chocolate chips if using.
- Grease an 8x8-inch baking dish or line it with parchment paper, then pour the batter in and smooth it out.
- Bake in the preheated oven for 20-25 minutes. The brownies are done when a toothpick inserted in the center comes out with a few moist crumbs.
- Let the brownies cool in the pan for 10-15 minutes before transferring to a wire rack. Slice into squares and serve, optionally with whipped cream or ice cream.